Introduction:
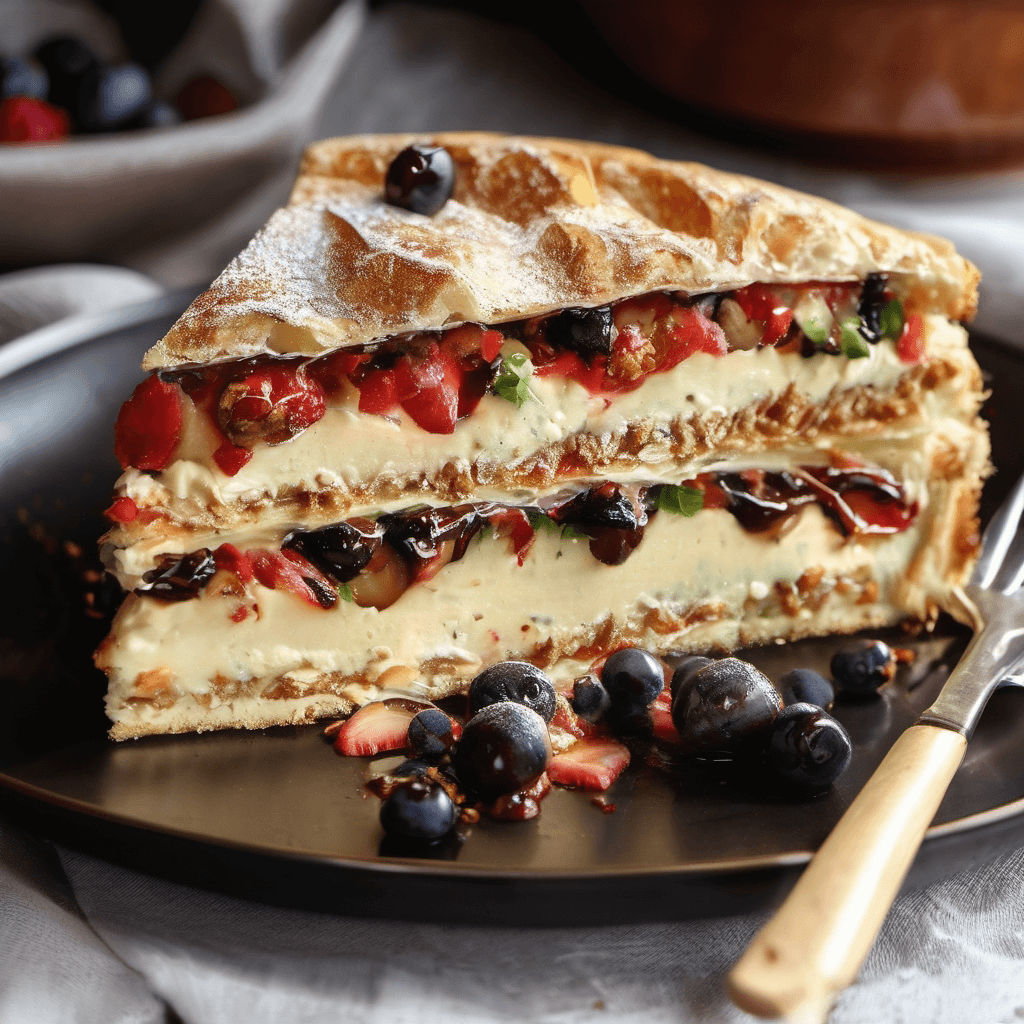
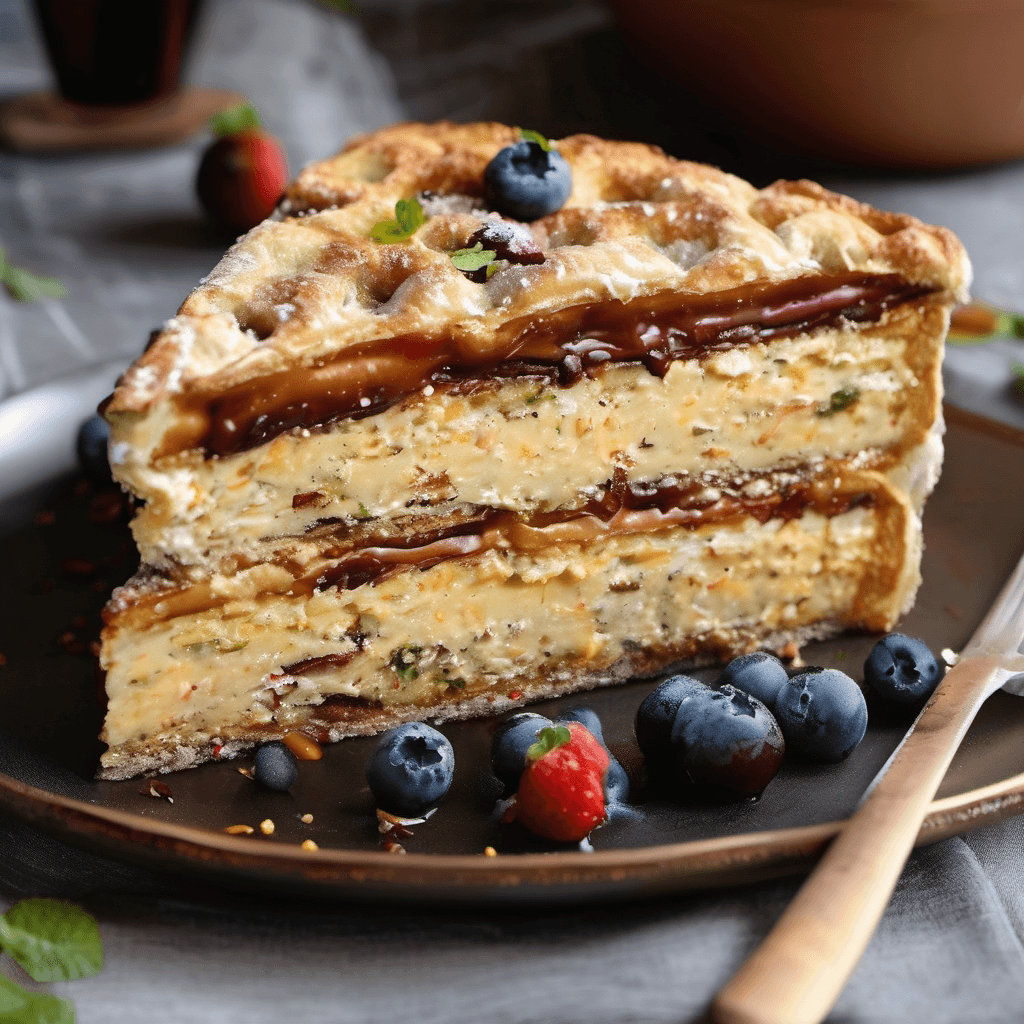
The Kiev Cake, a beloved Ukrainian dessert, is as iconic as it is indulgent. This masterpiece consists of layers of nutty meringue, light sponge cake, and a rich, buttery cream that create a harmonious blend of textures and flavors. Originally created in Kyiv, the Kiev Cake has become a symbol of Ukrainian culinary art, renowned for its intricate preparation and delicious taste. In this article, we’ll guide you through the history of this iconic dessert, share a step-by-step Kiev Cake recipe, and provide tips for perfecting this impressive cake at home.

The History of the Kiev Cake: A Ukrainian Classic
The Kiev Cake has a rich history dating back to the mid-20th century. It was first made by confectioners at the Karl Marx Confectionery Factory in Kyiv (now called Roshen). Legend has it that the cake was born out of an accidental mistake when a batch of egg whites was left out overnight. Instead of discarding them, the creative chefs decided to use them to make meringue, resulting in the birth of this now-famous dessert.
This cake soon became a favorite not just in Ukraine, but across the Soviet Union, and it remains a symbol of Kyiv’s culinary tradition today. Known for its light and airy meringue layers combined with creamy buttercream, it’s a cake that represents both elegance and indulgence.
What Makes the Kiev Cake Special?
There are several elements that make the Kiev Cake stand out among other desserts:
1. Crunchy Meringue Layers
The meringue layers are made with whipped egg whites and finely chopped nuts, typically hazelnuts or cashews. The result is a crunchy, nutty base that contrasts beautifully with the soft sponge and creamy frosting.
2. Rich, Velvety Cream
The buttercream used in a traditional Kiev Cake is smooth and decadent, often flavored with cocoa powder or vanilla extract. This rich cream provides a luxurious texture that balances out the crispness of the meringue.
3. Layered Perfection
Each layer of the cake brings a new element to the taste experience. The combination of light sponge, crunchy meringue, and creamy frosting creates a complex texture profile that is utterly satisfying.
4. Intricate Preparation
Making a Kiev Cake requires patience and skill. From preparing the meringue layers to layering the cake and frosting, this dessert demands attention to detail, which is part of what makes it so special.
How to Make Kiev Cake: A Step-by-Step Recipe
Let’s dive into the recipe for this legendary dessert. While the process can be somewhat intricate, the result is well worth the effort. This recipe will guide you through every step to ensure you can make an authentic Kiev Cake at home.
Ingredients:
For the Meringue Layers:
- 6 egg whites
- 1 ¼ cups (250g) granulated sugar
- 1 ¼ cups (150g) chopped hazelnuts or cashews
- 1 tablespoon cornstarch
- 1 teaspoon white vinegar
For the Sponge Cake:
- 4 egg yolks
- ¾ cup (150g) granulated sugar
- ½ cup (60g) all-purpose flour
- ¼ cup (30g) cornstarch
- 1 teaspoon baking powder
- 1 teaspoon vanilla extract
For the Buttercream Frosting:
- 1 ½ cups (340g) unsalted butter, softened
- 1 ¼ cups (150g) powdered sugar
- 3 tablespoons cocoa powder (optional)
- 1 tablespoon vanilla extract
- 2 egg yolks (optional, for richer frosting)
For Decoration:
- Chopped nuts (optional)
- Chocolate shavings or cocoa powder
Instructions:
Step 1: Prepare the Meringue Layers
- Preheat your oven to 250°F (120°C). Line two large baking trays with parchment paper.
- Whip the egg whites: In a clean, dry bowl, beat the egg whites on medium speed until soft peaks form. Gradually add the granulated sugar and continue to whip until stiff peaks form.
- Fold in the dry ingredients: Gently fold in the cornstarch, white vinegar, and chopped hazelnuts or cashews. Be careful not to deflate the egg whites.
- Shape the meringue layers: Divide the meringue mixture evenly between the two trays, spreading each into a circle about 9 inches in diameter.
- Bake the meringue layers: Bake the meringue layers for 2-2.5 hours, or until they are crisp and dry. Once done, turn off the oven and let them cool completely in the oven.
Step 2: Make the Sponge Cake
- Preheat the oven to 350°F (175°C). Grease and line a 9-inch round cake pan.
- Beat the egg yolks and sugar: In a large bowl, whisk the egg yolks with the sugar until the mixture is pale and fluffy.
- Sift the dry ingredients: Sift together the flour, cornstarch, and baking powder. Gradually fold the dry ingredients into the egg yolk mixture, adding vanilla extract for flavor.
- Bake the cake: Pour the batter into the prepared pan and bake for 20-25 minutes, or until a toothpick inserted into the center comes out clean. Let the cake cool completely before assembling.
Step 3: Prepare the Buttercream Frosting
- Cream the butter: In a large bowl, beat the softened butter with a hand mixer until it becomes smooth and fluffy.
- Add powdered sugar: Gradually add the powdered sugar, beating continuously until the frosting is light and airy.
- Add flavoring: Mix in the vanilla extract, and if desired, cocoa powder for a chocolate version of the frosting. If you want an even richer frosting, you can add the egg yolks one at a time, beating well after each addition.
Step 4: Assemble the Kiev Cake
- Layer the cake: Place one of the meringue layers on a serving plate. Spread a generous layer of buttercream over the top, then place the sponge cake layer on top. Add another layer of buttercream, followed by the second meringue layer.
- Frost the entire cake: Cover the entire cake, including the sides, with the remaining buttercream.
- Decorate: Finish off the cake with chopped nuts, chocolate shavings, or a dusting of cocoa powder on top for an elegant presentation.
Step 5: Chill and Serve
Refrigerate the cake for at least 2 hours to allow the flavors to meld together. Slice and serve to enjoy this authentic Ukrainian masterpiece.
Tips for Making the Perfect Kiev Cake
- Room Temperature Ingredients
Ensure that all your ingredients, especially the butter and eggs, are at room temperature before you begin. This will make it easier to whip the egg whites and cream the butter for the frosting. - Don’t Rush the Meringue
Patience is key when baking the meringue layers. Low and slow is the way to go. Baking the meringue at a low temperature for a long time ensures that it dries out completely and achieves the desired crunch. - Use Fresh, High-Quality Nuts
Fresh, high-quality hazelnuts or cashews are essential for this cake. Toasting the nuts beforehand will enhance their flavor, but be sure to chop them finely so they blend well into the meringue. - Assemble the Cake Carefully
The meringue layers can be fragile, so handle them with care when assembling the cake. Use a sharp, serrated knife to cut the cake into slices to avoid cracking the meringue. - Chill Before Serving
While it may be tempting to dig in right away, allowing the cake to chill for a few hours (or even overnight) will help the flavors meld together and make it easier to slice.
The Unique Flavor and Texture of Kiev Cake
Kiev Cake is a dessert that stands out for its complex texture and taste. The combination of crunchy meringue, soft sponge cake, and rich buttercream creates a delightful contrast that makes each bite a unique experience. The subtle sweetness of the meringue and the nutty flavor from the hazelnuts or cashews elevate the cake to another level. Meanwhile, the buttercream adds a layer of decadence that rounds out the overall flavor.
Frequently Asked Questions (FAQs)
1. Can I make a gluten-free version of Kiev Cake?
Yes! You can substitute the all-purpose flour with a gluten-free flour blend for the sponge cake layer. The rest of the recipe is naturally gluten-free.
2. How long does Kiev Cake last?
Kiev Cake can be stored in the refrigerator for up to 3-4 days. The meringue layers may soften slightly over time

Conclusion: Why Kiev Cake is Worth the Effort
The Kiev Cake is more than just a dessert—it’s a masterpiece of Ukrainian culinary heritage. While the recipe may require some patience and attention to detail, the result is an unforgettable cake that perfectly balances textures and flavors. The crisp meringue, soft sponge, and rich buttercream come together to create a dessert that is as satisfying as it is impressive. Whether you’re making it for a special occasion or simply to enjoy a taste of Ukraine at home, this Kiev Cake recipe is sure to delight.
Take the time to follow the steps carefully, and you’ll be rewarded with a cake that is not only visually stunning but also irresistibly delicious. Happy baking!

